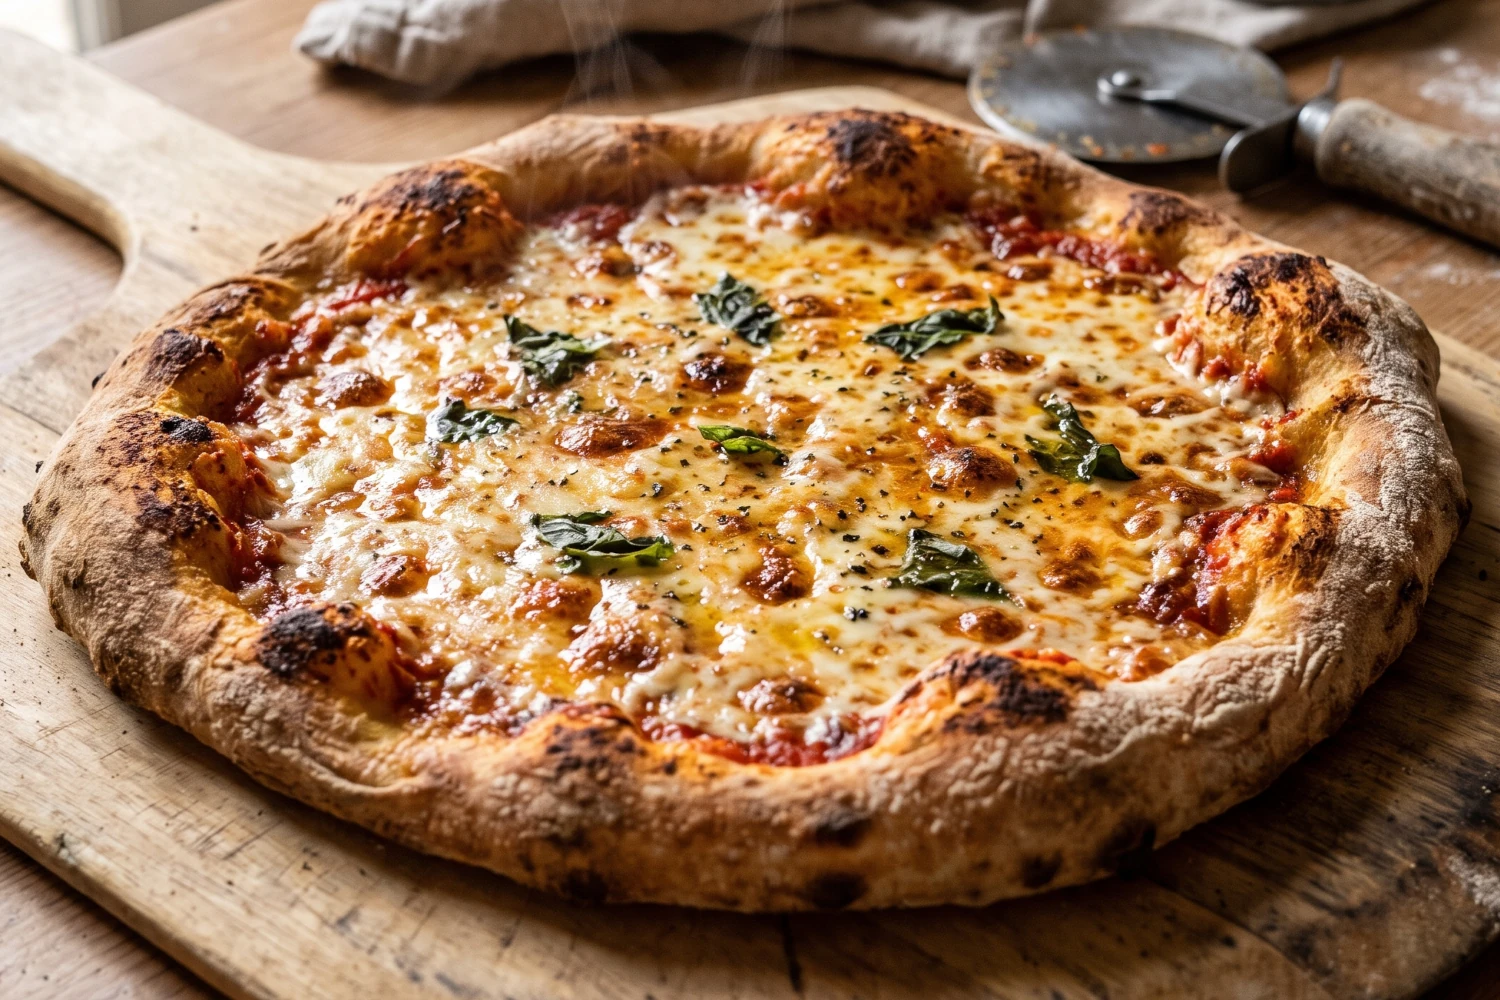
How to Bake a Crispy-Crust Pizza in a Home Oven
An excellent pizza should have a crispy, golden-brown base, a beautifully baked crust, and a soft interior. However, homemade pizza often ends up soft in the middle, pale on the bottom, or disappointingly tough in texture.
The good news is that you don’t have to settle for this. You can have a crispy-crust pizza even with your standard home oven. You don’t need a professional-grade pizza oven, you simply need to understand how heat is transferred to the dough, how moisture affects the crust, and how to set up your home oven for maximum efficiency. Here are some tips on how to bake a pizza with a crispy-crust in a home oven.
How to Bake a Crispy-Crust Pizza in a Home Oven
Here are the techniques that help you to to bake a crispy-crust pizza in your home oven
1. Preheat the Oven
Heat is the foundation of a crispy pizza. Most home ovens reach temperatures of about 250–275°C (480-530 °F), and some can go even higher. Use the highest temperature recommended for your oven and your baking equipment. However, simply preheating the oven is not enough. The baking surface itself must also be heated all the way through.
Allow at least 30–45 minutes for preheating, especially if you are using a pizza steel or a pizza stone. A properly heated surface transfers heat to the dough immediately. This helps the crust set, brown, and develop a crispy texture before too much moisture can be released from the toppings.
2. Choose the Right Hydration Level
Hydration level refers to the amount of water in the dough relative to the amount of flour. It significantly influences how the pizza behaves during baking. Dough with too much water can be difficult to handle, and the center may remain soft, especially if the oven cannot evaporate the moisture quickly enough. Conversely, dough that is too dry may turn out tough rather than crispy.
If you are still learning how to handle pizza dough, start with a hydration level of about 60–62%. For example, if a pizza dough recipe contains 1,000 grams of flour and 600 grams of water, its hydration is 60%. Adjust the amount gradually as you learn how the specific flour you are using behaves.
3. Stretch the Dough Thin
A center that remains too thick is one of the most common reasons why homemade pizza turns out soggy. If you want a thin, crispy crust, stretch the dough out evenly, paying special attention to the center. Avoid leaving a thick layer of dough beneath the toppings, unless you are intentionally aiming for a thicker style of pizza. Stretch the dough by hand rather than firmly pressing all the air bubbles out—this ensures the edges of the pizza remain airy and light.
4. Don’t Overload Your Pizza
Even if the dough is prepared perfectly, it can become soggy if there are too many toppings. Tomato sauce, fresh mozzarella, vegetables, and other ingredients release moisture during baking. If too much moisture accumulates, the center of the pizza won’t be able to crisp up properly.
- Spread only a thin, even layer of sauce
- Pre-cook vegetables with high moisture content, such as mushrooms, if necessary
- Avoid piling too many toppings in the center of the pizza
- Use cheese in moderation
- Drain fresh mozzarella thoroughly and pat it dry with a paper towel
5. Use a Pizza Steel or Stone
The surface on which you bake your pizza can completely change the final result. A pizza steel conducts heat very efficiently and is excellent for achieving a crispy, well-browned pizza crust. It is often the best choice for home ovens, where getting the bottom of the crust to cook properly can be challenging due to insufficient bottom heat. A pizza stone stores heat and provides a stable baking surface. It works well for both thin-crust pizzas and traditional, artisan-style pizzas.
If you do not have any specialized baking equipment, a sturdy baking sheet is a practical alternative. Preheat a baking tray (placed upside down) and carefully place the pizza onto its hot surface. Always follow the temperature limits specified by the manufacturer. Furthermore, do not expose a hot stone to cold water or sudden temperature changes.
6. Bake on the Lowest Rack
The rack position affects the balance between the browning of the crust and the browning of the top. If the pizza crust remains pale even though the cheese is already cooked, move the baking steel or stone to a lower position in the oven, or allow it to preheat for longer. Conversely, if the crust browns quickly but the toppings remain undercooked, move the pizza to a higher position or adjust the ratio of top-to-bottom heat.
In most home ovens, a good starting point is to place a thoroughly preheated baking steel or stone in the lower part of the oven. The ideal placement depends on the oven’s heating elements and whether you are using the convection (fan) setting.
7. Bake Until Well-Browned
Do not judge doneness solely by the appearance of the cheese. A pizza might look finished on top while the crust remains pale and soft. Look for the following signs:
- The crust is golden brown
- The edges are firm and show darker, well-baked spots
- The pizza holds its shape when lifted from the center
- The cheese is melted and browned to your preferred level
8. Use the Broiler (if necessary)
If your oven has a broiler (top heating element), you can use it to finish the top of the pizza once the crust is cooked. Remember to use this technique with caution. The broiler can brown the cheese very quickly, so keep a close eye on the pizza. This method is particularly useful when the pizza crust is crispy, but the cheese could use a bit more color.
9. Let the Pizza Rest
When you take the pizza out of the oven, place it on a wire rack for a moment (a minute or two) if you want to keep the crust crispy. If you leave the pizza on a flat plate, a wooden board, or in a closed container, steam will get trapped underneath and gradually soften the crust. Slice the pizza shortly after baking and serve immediately. A crispy crust is at its best when the surface remains dry and the inside is still warm.
In Conclusion
A crispy pizza is the result of several small decisions. A hot baking surface provides the initial heat, balanced dough hydration ensures the right structure, a measured amount of toppings prevents sogginess, and a sufficient baking time allows the crust to brown. Master these basics first. Once you can consistently achieve a crispy crust, you can experiment with longer fermentation times, different flour blends, and varying hydration levels to create your own signature pizza.